BUILDING DRYERS: PRACTICAL TIPS
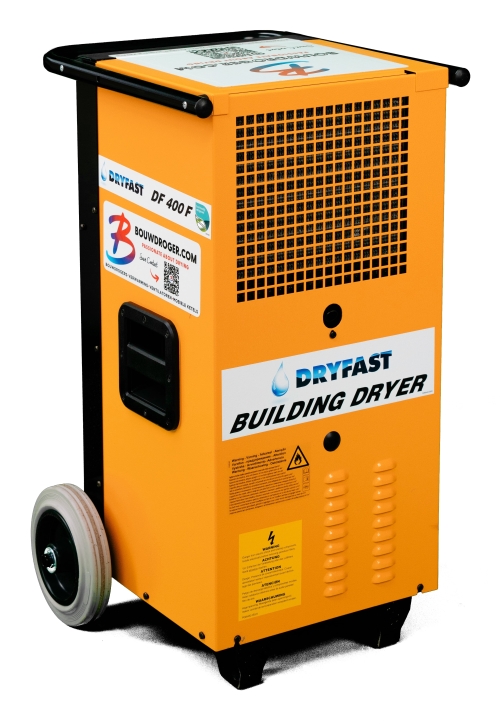
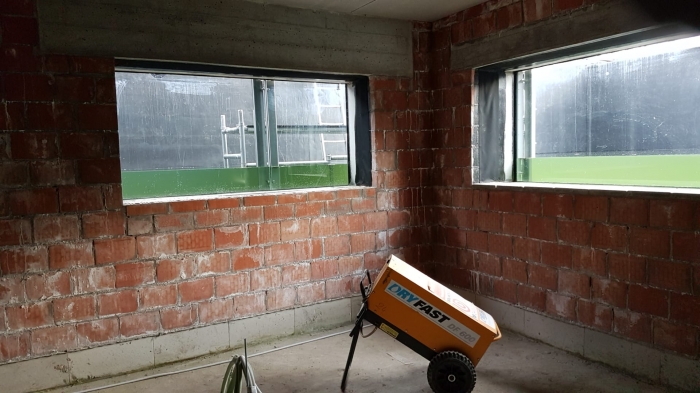
With natural drying it is difficult to estimate the length of the drying process, but also with building dryers it is virtually impossible to determine the exact drying time. In general, during wet periods, use of the appropriate building dryers will reduce the drying time by a factor of 4 as compared to natural drying. Some further indications are given below.
Building dryers for sand-cement screed
The first 4 cm of a screed each take about one week to dry, for thicker screeds an exact calculation is required. Please note that drying may not be started until 7 days have elapsed since the installation of the screed.
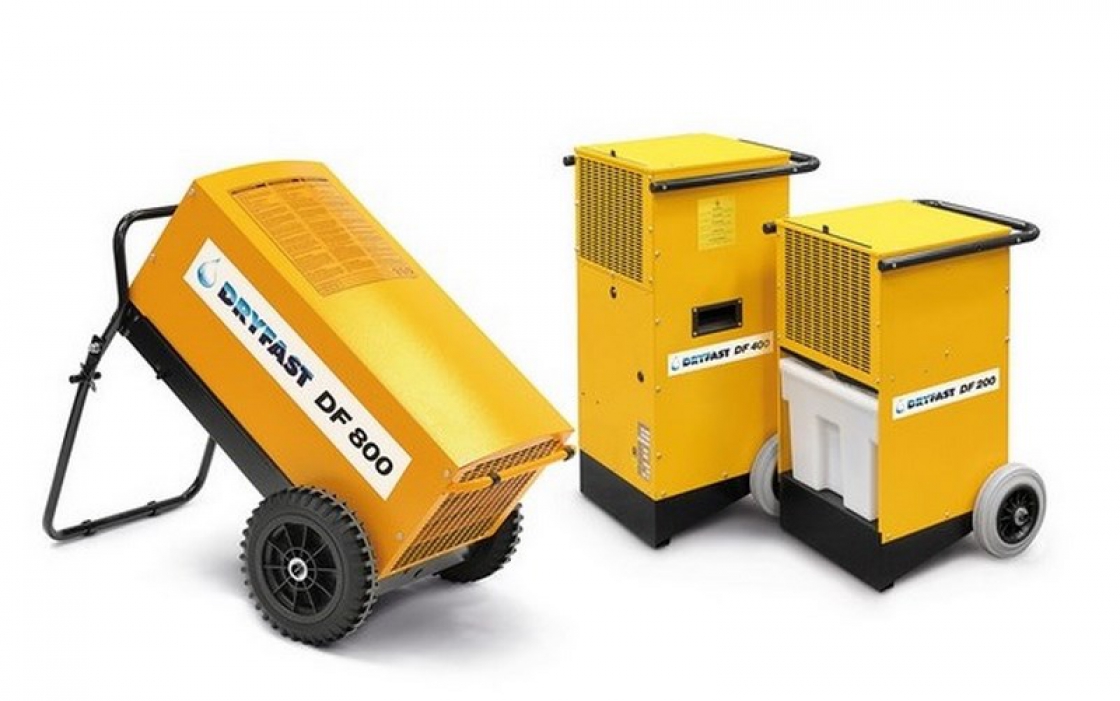
Building dryers for anhydrite floors
In contrast with conventional sand cement screed, you can speed up the drying process if you set up building dryers and fans 48 hours after the installation of the anhydrite floor. In this case, a drying time of only two to three weeks will be required. Please note: if you wait more than seven days after the installation, the anhydrite floor will take much more time to dry. The drying time is then comparable with that of a sand-cement screed.
Drying other substrates with building dryers
Stone walls, stucco and calcium silicate blocks can also be dried in 14 days provided they are not saturated with moisture. To determine whether building materials are sufficiently dry for finishing, a variety of measuring equipment is available. Read more tips here on hiring measuring equipment.
Safe use of building dryers
All equipment that leaves our warehouse has undergone a full technical inspection. We work only with high quality professional equipment, so there is no risk of fire or damage to the building. Furthermore, you do not need to be present al the time. All you have to do is drop by every two or three days to check that everything is still working properly.
Specific tips for building dryers
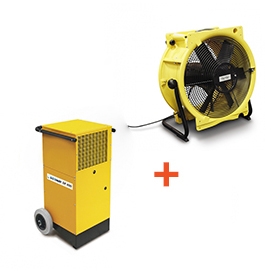
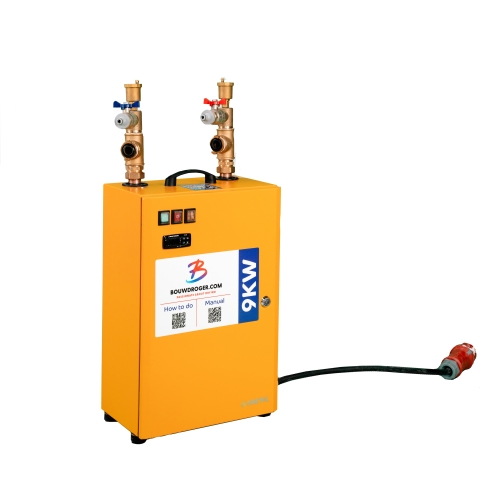
Do you want more tips on building dryers? On our website you can find loads of practical tips on the different types of building dryers, the combination of building dryers and electric heaters and the combination of building dryers and fans.

INSTALLATION OF PU HAD TO BE PUT ON HOLD
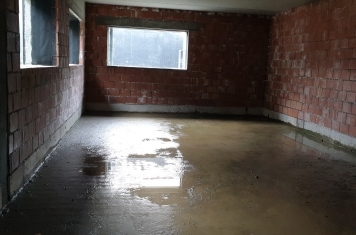
Installation of PU had to be put on hold due to a very wet substrateFor the proper installation of P
Read more >


-1693840346.jpg)
-1693836575.jpg)

.jpg)
.jpg)
.jpg)
.jpg)
.jpg)
